3D Scan of Hardness Imprints for the Non-destructive In-Situ Structural Assessment of Operated Metal Components
Abstract
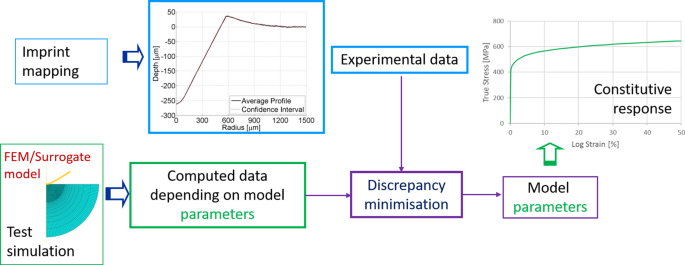
The structural integrity of operated components can be assessed by non-destructive mechanical tests performed in-situ with portable instruments. Particularly promising in this context are small scale hardness tests supplemented by the mapping of the residual imprints left on metal surfaces. The data thus collected represent the input of inverse analysis procedures, which determine the material characteristics and their evolution over time. The reliability of these estimates depends on the accuracy of the geometry scans and on the robustness of the data filtering and interpretation methodologies. The objective of the present work is to evaluate the accuracy of the 3D reconstruction of the residual deformation produced on metals by hardness tests performed at a few hundred N load. The geometry data are acquired by portable optical microscopes with variable focal distance. The imperfections introduced by the imaging system, which may not be optimized for all ambient conditions when used in automatic mode, are analysed. Representative examples of the output produced by the scanning tool are examined, focusing attention on the experimental disturbances typical of onsite applications. Proper orthogonal decomposition and data reduction techniques are applied to the information returned by the instrumentation. The essential features of the collected datasets are extracted and the main noise is removed. The results of this investigation show that the accuracy achievable with the considered equipment and regularization procedures can support the development of reliable diagnostic analyses of metal components in existing structures and infrastructures.


 求助内容:
求助内容: 应助结果提醒方式:


